A Beginner-Friendly, Step-by-Step Guide
Introduction
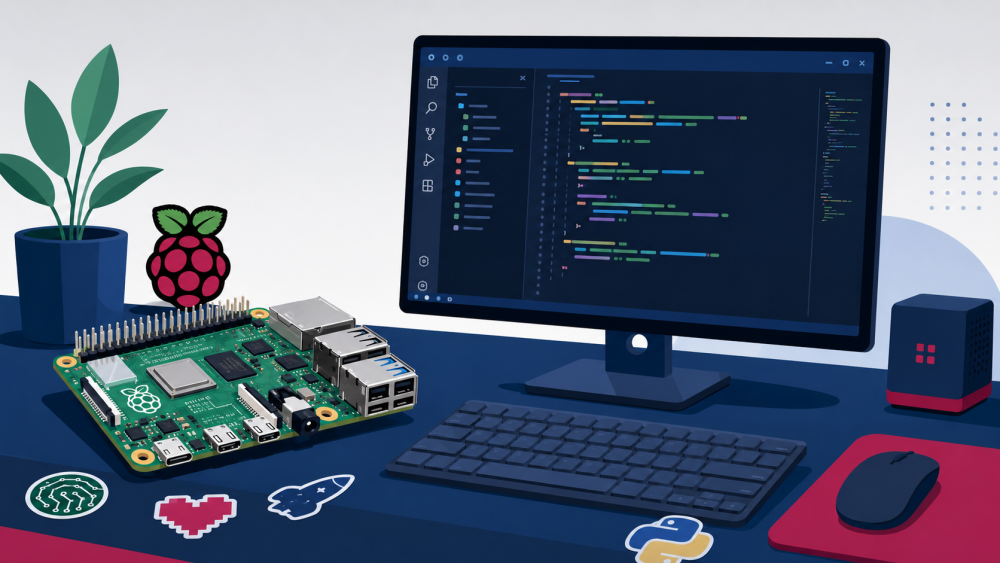
If you have ever opened your Raspberry Pi’s Programming menu, you probably noticed an application called Thonny already sitting there, ready to go. Thonny is a simple Python editor that ships with Raspberry Pi OS, and for absolute beginners writing their very first lines of Python, it does the job. It has a big Run button, a built-in shell, and almost nothing else to distract you.
So why would you bother installing something different?
The short answer is that Thonny is a learning tool, and Visual Studio Code (VS Code) is a professional development environment. The gap between the two is significant, and the sooner you make the switch, the sooner you start building the habits and skills that carry over into real-world software development.
What Is Visual Studio Code?
Visual Studio Code is a free, open-source code editor created by Microsoft. It runs on Windows, macOS, and Linux, which means it also runs on Raspberry Pi OS (a Debian-based Linux distribution). Despite being free, it is the most popular code editor in the world, used by millions of professional developers every day.
VS Code is not the same thing as Visual Studio (the full IDE). Think of VS Code as a lightweight, fast editor that you can customize with extensions to support almost any programming language, framework, or workflow you can imagine. It starts small and grows with you.
Why VS Code Instead of Thonny?
Thonny was designed to teach beginners the basics of Python. That narrow focus is both its strength and its limitation. Here is what Thonny does not give you:
- No IntelliSense or intelligent code completion. Thonny offers basic autocomplete, but it cannot predict what you need or show you function signatures and documentation as you type.
- No built-in terminal. Professional developers run commands, install packages, and manage files from inside their editor. Thonny keeps you locked into its own shell.
- No extension ecosystem. You cannot add Git integration, linters, formatters, database viewers, or support for other languages.
- No multi-file project support. Real projects are made of many files organized in folders. Thonny is built around editing one file at a time.
- No integrated debugging for complex projects. Thonny has a basic debugger, but it lacks breakpoint conditions, watch expressions, and call stack navigation.
VS Code solves all of these problems and adds capabilities you didn’t know you needed:
- IntelliSense provides real-time code suggestions, function signatures, parameter hints, and inline documentation as you type.
- Integrated terminal lets you run Python scripts, install packages with pip, and use Git without leaving the editor.
- Extensions let you add Python linting (Pylint, Flake8), auto-formatting (Black, autopep8), Git visualization (GitLens), and thousands more with a single click.
- Project-aware file explorer shows your entire project folder tree in a sidebar, making it easy to navigate between files.
- Professional debugging with breakpoints, conditional breakpoints, variable inspection, call stacks, and a debug console.
- Built-in Git support for version control, viewing diffs, staging changes, and committing code directly from the sidebar.
- Industry standard — learning VS Code now means you already know the tool used at most tech companies, bootcamps, and universities.
Prerequisites
Before you begin, make sure you have the following:
- Raspberry Pi 4 (4 GB or more recommended) or Raspberry Pi 5
- Raspberry Pi OS installed and working
- An active internet connection
- A keyboard, mouse, and monitor connected to the Pi
Step 1: Update the Operating System
Before installing any new software, you should always update your operating system first. Updates ensure you have the latest security patches, bug fixes, and package information. If you skip this step, you might install an outdated version of a program, or the installation might fail entirely because your system does not know where to find the latest packages.
Open a Terminal window (you can find it in the taskbar at the top of the screen or in the Accessories menu) and type the following commands one at a time, pressing Enter after each one:
sudo apt update
sudo apt full-upgrade -y
sudo reboot
Wait for the Raspberry Pi to restart and log back in before continuing.
Step 2: Verify Your Raspberry Pi Model
This is an optional but helpful step. You can check exactly which Raspberry Pi model you are using by running:
cat /proc/device-tree/model
You should see output similar to this:
Raspberry Pi 5 Model B Rev 1.0
Step 3: Install Visual Studio Code
Now that your system is up to date, you can install VS Code. Raspberry Pi OS includes VS Code in its official software repositories, so the installation is a single command:
sudo apt install code -y
The installation will take a minute or two depending on your internet speed. When it finishes, VS Code is ready to use.
Step 4: Launch Visual Studio Code
You can start VS Code in two ways:
Option A: From the Terminal
Type the following command and press Enter:
code
Option B: From the Desktop Menu
Click the Raspberry Pi menu icon in the top-left corner of your screen, navigate to Programming, and click Visual Studio Code.
Either method opens the same application. When VS Code launches for the first time, you will see a Welcome tab with helpful links and tips. Feel free to explore it or close it.
Step 5: Install the Python Extension
Out of the box, VS Code is a general-purpose editor. To unlock its full Python capabilities, you need to install the official Python extension. This is what transforms VS Code from a plain text editor into a Python powerhouse.
- Open Visual Studio Code.
- Click the Extensions icon on the left sidebar. It looks like four small squares with one square detached.
- In the search bar at the top, type Python.
- Find the extension called Python published by Microsoft (it will be the first result with millions of installs). Click Install.
Once installed, this extension provides:
- Syntax highlighting — Python keywords, strings, and functions are displayed in different colors so your code is easier to read.
- Code completion (IntelliSense) — as you type, VS Code suggests variable names, functions, and methods with documentation popups.
- Debugging tools — set breakpoints, step through code line by line, and inspect variables in real time.
- Virtual environment support — VS Code detects and activates Python virtual environments automatically.
- Code navigation — jump to function definitions, find all references, and rename variables across your entire project.
Step 6: Verify Python Is Installed
Raspberry Pi OS comes with Python pre-installed, but it is good practice to verify the version. Open a Terminal and run:
python3 --version
You should see output like this:
Python 3.11.x
The exact version number may vary depending on your Raspberry Pi OS version. As long as you see Python 3.x, you are good to go.
Step 7: Create a Test Project
Let’s create a simple project folder and a Python file to make sure everything is working. In your Terminal, run the following commands:
mkdir ~/python-test
cd ~/python-test
Now create a Python file using the nano text editor:
nano hello.py
This opens a simple text editor inside the Terminal. Type the following line of Python code:
print("Hello from Raspberry Pi!")
Save and close the file:
- Press Ctrl + O (that is the letter O, not zero) to save.
- Press Enter to confirm the filename.
- Press Ctrl + X to exit nano.
Step 8: Open the Project in VS Code
Now open your project folder in VS Code. From your Terminal, run:
code ~/python-test
VS Code will open with your python-test folder loaded in the sidebar. You should see your hello.py file listed. Click on it to open it in the editor.
Step 9: Select the Python Interpreter
VS Code needs to know which Python installation to use. This is called selecting the interpreter.
- Press Ctrl + Shift + P to open the Command Palette. This is a search bar that lets you find any VS Code command.
- Type Python: Select Interpreter and click the matching option.
- Select
/usr/bin/python3from the list. If you have a virtual environment set up (covered later in this guide), you can choose that instead.
Once selected, VS Code will display the interpreter in the bottom status bar so you always know which Python version your project is using.
Step 10: Run the Program
Option A: Using VS Code
With hello.py open in the editor, click the Run button (the ▶ play icon) in the upper-right corner of the editor. VS Code will open its built-in terminal at the bottom of the screen and run your script.
Option B: Using the Terminal
If you prefer, you can run the script directly from any Terminal window:
python3 hello.py
Either way, you should see the following output:
Hello from Raspberry Pi!
Optional: Create a Virtual Environment
A virtual environment is an isolated copy of Python that lives inside your project folder. It lets you install packages for one project without affecting any other project or the system-wide Python installation. This is considered a best practice in Python development.
First, install the virtual environment package:
sudo apt install python3-venv -y
Then create and activate a virtual environment inside your project folder:
cd ~/python-test
python3 -m venv .venv
source .venv/bin/activate
You should see your terminal prompt change to something like:
(.venv) pi@raspberrypi:~/python-test $
Now you can install packages safely. For example:
pip install requests
VS Code will usually detect the virtual environment automatically and ask if you want to use it as your interpreter. Click Yes when prompted.
Optional: Install Git
Git is a version control system that tracks changes to your code over time. It lets you save snapshots of your project, undo mistakes, collaborate with others, and share your code on platforms like GitHub. If you are learning to code, learning Git early is one of the best investments you can make.
Install Git:
sudo apt install git -y
Configure your identity (Git uses this to label your commits):
git config --global user.name "Your Name"
git config --global user.email "you@example.com"
Verify the installation:
git --version
You should see output like:
git version 2.39.x
Once Git is installed, VS Code’s built-in Source Control panel (the branch icon on the left sidebar) will automatically detect Git repositories and let you stage, commit, and push changes without leaving the editor.
Recommended VS Code Extensions
Now that VS Code is set up, here are some extensions worth installing from the Extensions marketplace to further improve your workflow:
- Python (Microsoft) — the core extension you already installed. Provides IntelliSense, debugging, and environment management.
- Pylance (Microsoft) — a faster, more powerful Python language server that improves type checking, auto-imports, and code navigation. It is often installed automatically alongside the Python extension.
- GitHub Pull Requests and Issues (GitHub) — if you use GitHub, this extension lets you create pull requests, review code, and manage issues directly inside VS Code.
- GitLens (GitKraken) — adds powerful Git annotations, blame info, and history visualization so you can see who changed what and when.
- Docker (Microsoft) — optional. If you work with containers, this extension makes managing Docker images and containers much easier.
Summary
After completing this guide, your Raspberry Pi now has:
- Visual Studio Code installed and configured
- The Python extension providing IntelliSense, debugging, and code navigation
- A verified Python installation ready for development
- Optional virtual environment support for isolated project dependencies
- Optional Git integration for version control
This setup closely mirrors the environment used by professional Python developers working on Linux servers, cloud systems, and production applications. Everything you learn here transfers directly to any computer running VS Code, regardless of operating system.