Thinking about building a website for your business, blog, or portfolio? It can feel overwhelming. You’re bombarded with a dozen different services, technical jargon, and conflicting advice. But there’s a reason why over 43% of all websites on the internet are powered by one platform: WordPress.
WordPress is the single most powerful, flexible, and scalable tool for building a digital presence. It’s the platform that can start as a simple blog and grow into a full-fledged e-commerce empire.
But to harness that power, you need a clear roadmap. This is your no-nonsense, step-by-step guide to getting your first professional WordPress website up and running.
Part 1: The Foundation – Understanding the Basics
Before we buy anything, let’s get two critical things straight.
1. WordPress.org vs. WordPress.com
This is the most common point of confusion for beginners. They are not the same thing.
- WordPress.com: This is a for-profit service that uses the WordPress software. It’s an all-in-one platform where they handle the hosting for you. It’s easy but can be very limiting. Think of it like renting an apartment with strict rules.
- WordPress.org: This is the free, open-source software itself. You download it (or have your host install it) and run it on your own hosting account. This gives you 100% control, ownership, and flexibility. This is like owning your own house and land.
For this guide, and for any serious business website, we will be using self-hosted WordPress.org.
2. The Two Things You Absolutely Need
Every self-hosted website requires two core components:
- A Domain Name: This is your website’s address on the internet (e.g., launchtools.dev). It’s how people find you.
- Web Hosting: This is the plot of land on the internet where your website’s files and data are stored. Your hosting server is a computer that’s on 24/7, serving your website to visitors.
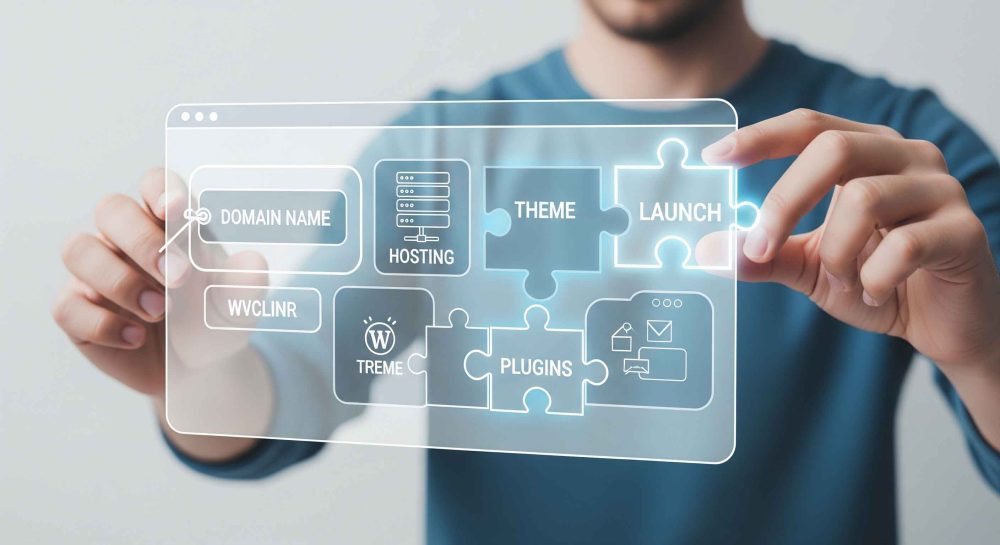
Part 2: Step-by-Step – Getting Your Site Live
Let’s build this thing. Follow these steps in order, and you’ll have a live website in about an hour.
Get a FREE domain when you buy Shared hosting with NameCheap!Step 1: Choose and Buy Your Domain Name
Your domain name is your brand. Keep it short, memorable, easy to spell, and relevant to your business.
- My Recommendation: I strongly recommend using Namecheap.com to purchase your domain.
- Why Namecheap? They offer consistently low prices and, crucially, provide free lifetime WhoisGuard privacy protection. This service hides your personal contact information (name, address, phone number) from public view, which is essential for preventing spam and protecting your privacy.
Action: Go to Namecheap.com, search for your desired domain name, and purchase it.
Step 2: Choose Your Hosting Platform
This is the most important decision you will make for your website. Your host determines your site’s speed, security, and reliability. Saving a few dollars a month on cheap hosting will cost you dearly in lost visitors and headaches down the road.

- My Recommendation: For serious performance, security, and world-class support, I exclusively recommend WPX Hosting.
- Why WPX?
- Blazing Speed: They are consistently ranked as one of the fastest managed WordPress hosts in the world. Speed is a critical factor for both user experience and SEO rankings.
- Incredible Support: Their support team is legendary. They respond in under 30 seconds, 24/7, and are experts who will help you solve real problems.
- Ease of Use: Their dashboard is clean and simple, making it easy to manage your site.
- Free Migrations: If you have a site elsewhere, they will move it for you, for free, within 24 hours.

(Full disclosure: The link above is my affiliate link. I recommend WPX because I use them and trust them for high-performance sites, and I may receive a commission if you sign up through my link at no extra cost to you.)
Action: Go to WPX, select their entry-level plan, and during checkout, they will ask for the domain name you purchased from Namecheap. They will then give you instructions on how to “point” your domain to their servers (a simple copy-and-paste job in your Namecheap account).
Step 3: Install WordPress
This used to be complicated. Now, it’s a single click.
- Log in to your new WPX hosting dashboard.
- Navigate to “Manage Websites” and find the option to “Install WordPress.”
- The system will ask you for a few details like your Site Title, an admin username, and a password. Fill these in (and save that password!).
- Click “Install.” In about 60 seconds, the software will be installed, and you’ll have a live, functioning (though empty) WordPress site. You can now log in at yourdomain.com/wp-admin.
Part 3: Designing Your Site – Themes & Plugins
Welcome to your WordPress dashboard! Now we make it look good and add features.
First, Choose Your Theme (The “Look and Feel”)
A “theme” is a design template that controls the overall look, layout, and style of your website.
- What to Look For: Start with a lightweight, flexible, and well-coded “base” theme. Avoid bloated, slow “mega-themes” from marketplaces like ThemeForest, as they can be a nightmare to manage.
- My Recommendations: Astra, Kadence, or GeneratePress. All three have excellent free versions to get you started.
- Action: In your WordPress dashboard, go to Appearance > Themes > Add New. Search for one of the recommended themes, then click “Install” and “Activate.”
Next, Add Functionality with Plugins (The “Apps”)
Plugins are like apps for your website. They add specific features that WordPress doesn’t have by default. A key rule: use as few plugins as possible. Only install what you truly need.
Here is your essential starter pack:
- Page Builder: This allows you to design pages with a drag-and-drop visual interface. I recommend Elementor (the most popular) or Kadence Blocks (which integrates perfectly with the Kadence theme).
- SEO: You need to help Google understand your site. Rank Math or Yoast SEO are the two best options. Install one of them and follow its setup wizard.
- Forms: You need a way for people to contact you. WPForms has a great free version for building simple contact forms.
- Security: Protect your site from hackers. Install Wordfence and run its setup wizard.
Action: In your dashboard, go to Plugins > Add New, search for each of these by name, and click “Install” and “Activate.”
Part 4: Building Your First Pages
WordPress has two main content types: Posts (for blog articles, listed chronologically) and Pages (for static content like your “About” or “Contact” page).
- Create a Homepage and About Page: Go to Pages > Add New. Use the new page builder you installed (like Elementor) to design your homepage. Add headlines, text, and images. Do the same for an “About Us” page.
- Set Your Homepage: By default, WordPress shows your latest blog posts on the front page. To change this, go to Settings > Reading. Under “Your homepage displays,” select “A static page.” Then, for the “Homepage” dropdown, choose the “Home” page you just created. Save your changes.
Congratulations! You now have a professional, fast, and secure website built on the most powerful platform on the web. This is your foundation. From here, you can add a blog, start an e-commerce store, or build any other feature you can imagine. Welcome to the world of WordPress.